
Riso is a stencil process, closer to screen printing than to a laser printer. Ten minutes here saves a reprint.
Riso machines came out of 1980s Japan. They look like a photocopier and work like screen printing. Your file is burned as thousands of tiny holes into a thermal master, which then wraps around an ink drum. Ink is pushed through the holes onto uncoated paper. Each drum holds one colour, so a two-colour print goes through the press twice. The master is made fresh for every job and cannot be saved, which is why the whole run has to be printed in one go. Each colour is a single ink rather than a CMYK mix, which is how you get a fluorescent pink no digital printer can match.
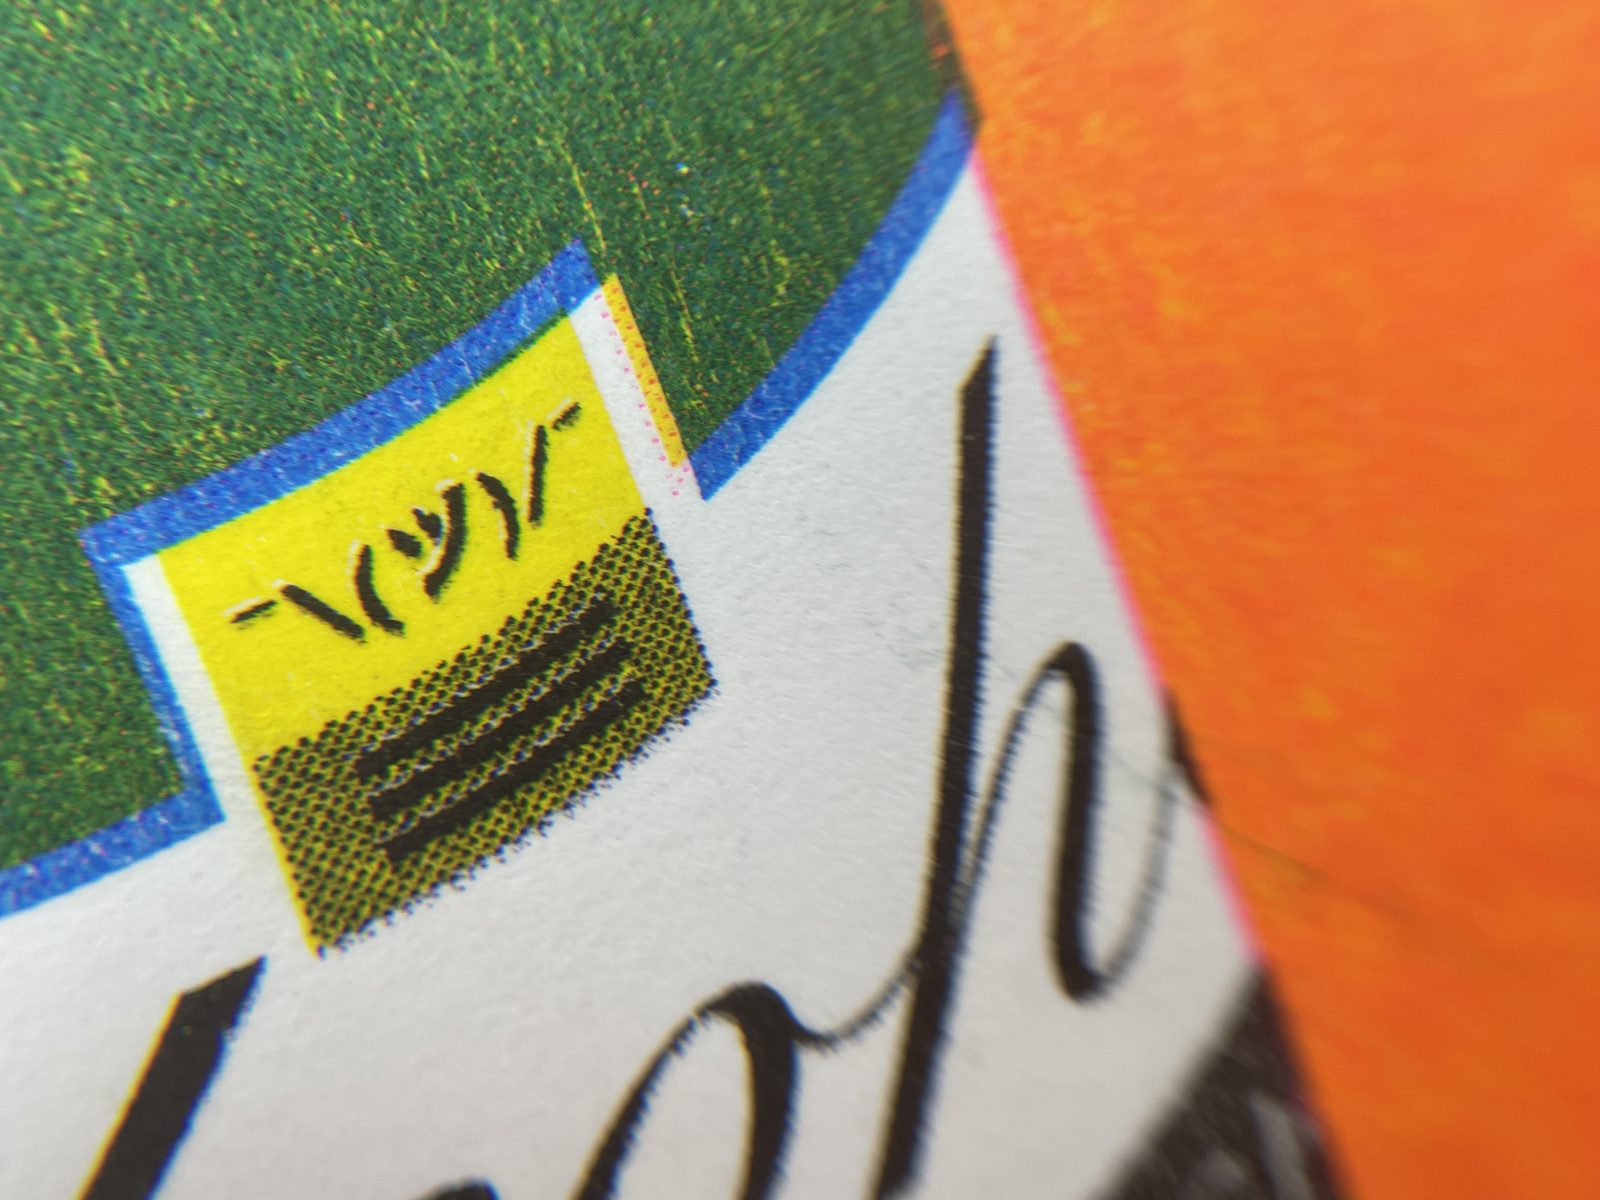
Each ink is a spot colour straight from the tube. Pick your palette first, because every ink you choose is one more file to supply.
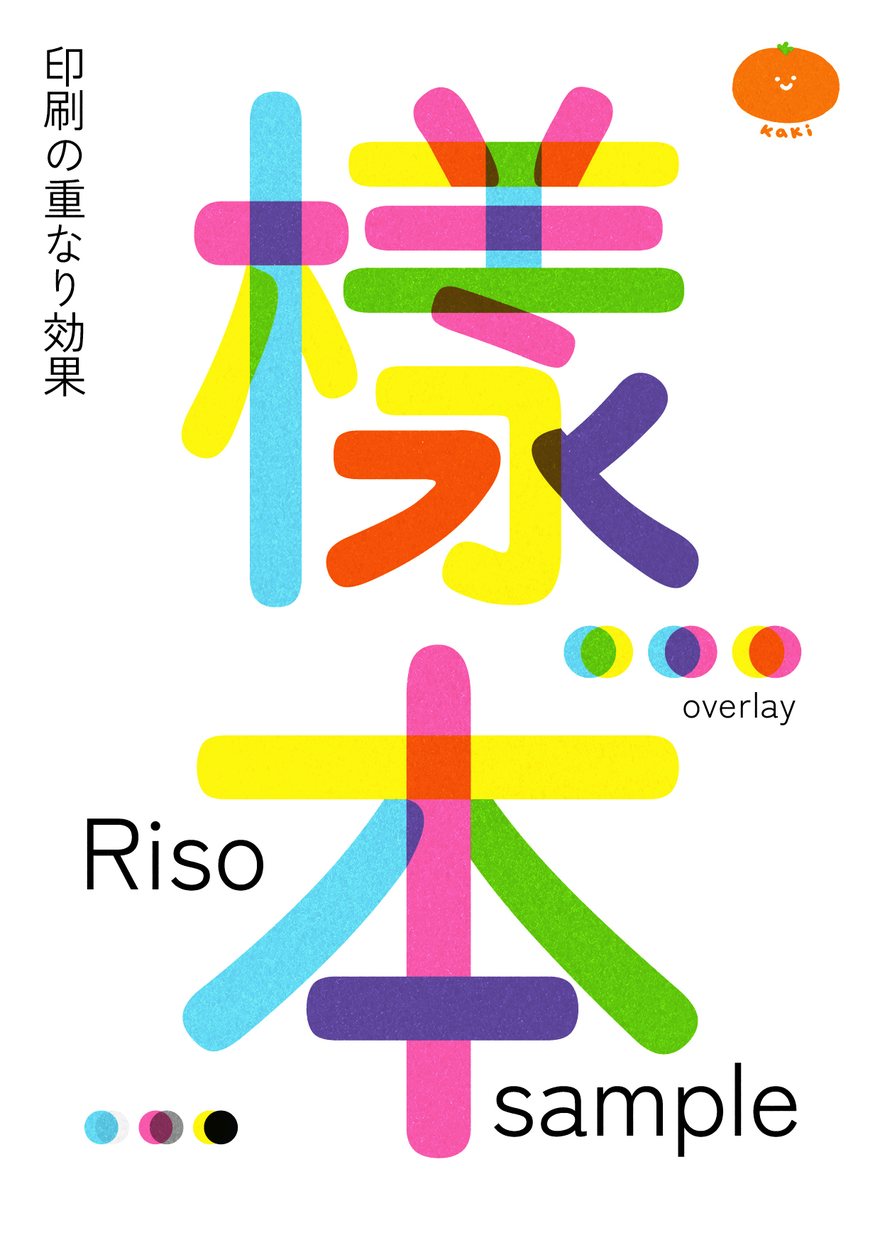
Riso inks are semi-transparent, so printing one over another makes a third colour. Four inks give you more than you think. Switch the inks on and off to see what each pass adds.
Set your layers to multiply in your artwork to see how the colours interact. This sample is a screen approximation: ink on paper never matches a screen, and the paper shifts it too.
We currently print on these four papers. They are the ones we have run through the machine often enough to know how they behave, and an untested stock can jam mid-run. If you have something specific in mind, email us. We can sometimes test a paper first, but it has to be tested before we commit to a job.
Everything prints on an A3 sheet at 300dpi and is trimmed down afterwards. An A6 order is not set up at A6, it is eight A6 pieces laid out on A3. Build at A3 whatever the finished size.
The press grips the paper at the edges and cannot print the outer 5mm, which leaves 287 × 410mm. The band down the middle is where the feed roller runs. Heavy ink there can mark. Choose the size below to see what sits where.
For ink to the edge (aka. full bleed) we cut inside the printed area, so a full-bleed piece always finishes smaller. The dashed line is the trim line, where the guillotine goes. Trimming is done by hand, so allow a millimetre or two either way.
The template does the arithmetic for you. Pick the size you are ordering above and it arrives with the grid, the trim lines and the roller zone already marked.
Download this templateThe press reads files in black and white, like a map of how much ink to lay down. Black in a file means put ink here, not print this black. For example, if you want something printed in yellow, the file you send is still greyscale.
Here is the sample with the files that made it. Each separation is greyscale, with black wherever that ink prints. Where two files carry black in the same place those two inks overprint: yellow and aqua in the same spot is how the green on the sheet happens.
 proof.jpgThe print
 fluopink.pdfFluo pink
 aqua.pdfAqua blue
 yellow.pdfYellow
 black.pdfBlack
Can't separate it yourself? Tick "I don't have separated files" when you order. We will do it for the artwork setup charge and send a proof first.
Registration is set by hand, so two colours meeting at an edge never meet exactly. A technique called trapping hides it. Overlap the shapes slightly where they touch, and the layers can drift without opening a white line.
Before submitting your order, please take a moment to make sure your print files are set up correctly, so we can get your order onto the press without coming back to you.